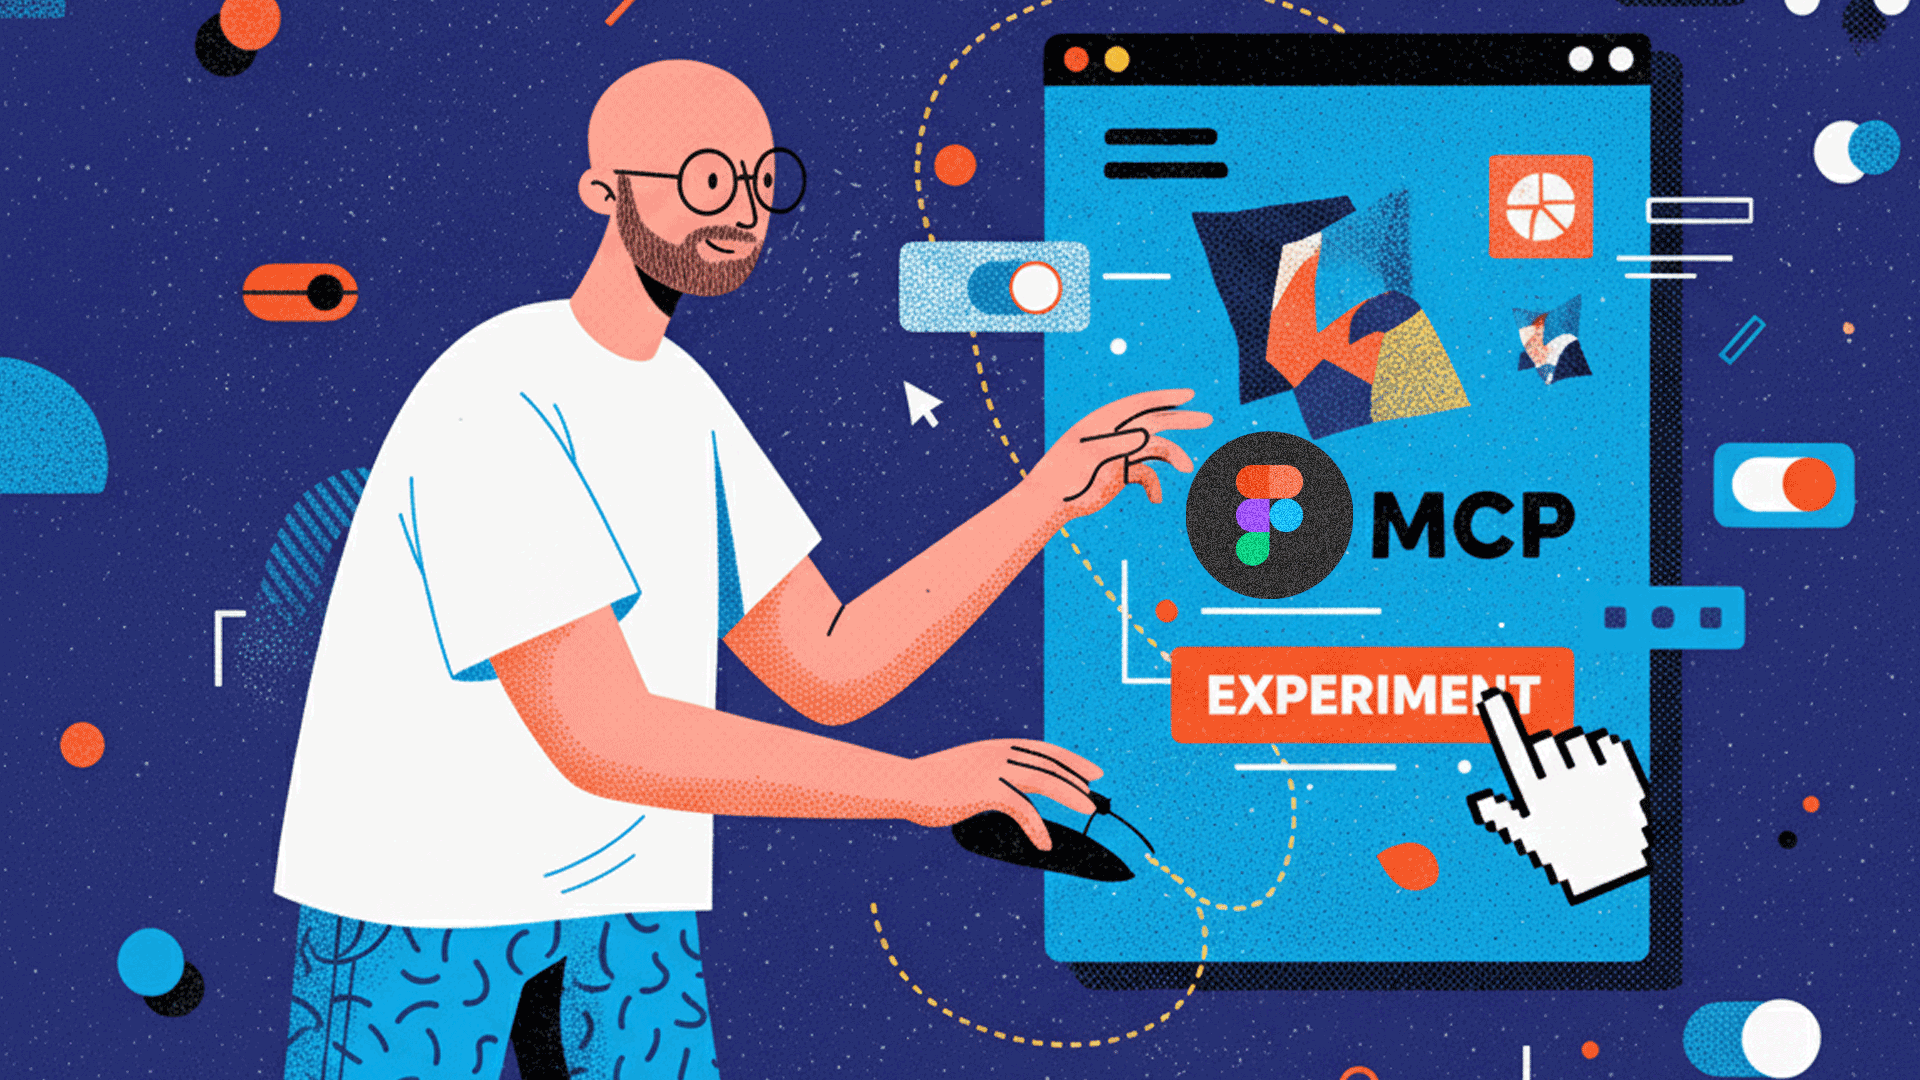
In the context of Figma, it refers to an "MCP server" (or "MCP integration") that lets external AI tools/agents access structured design data in Figma rather than just interpreting images/screenshots. The MCP server can run locally (on your machine, via Figma desktop app). Once connected, an AI client (in an editor like VS Code, Cursor, or an AI assistant) can request design context. For example: select a frame in Figma or copy a share link → the client asks the MCP server for the design node's structured data.
The returned context might include: component hierarchies, style properties (colors, spacing, typography), design tokens, variable mappings, layer naming, etc. This allows the AI tool to generate code (frontend code, component code) that is aligned with the design system rather than approximated from a screenshot.
Why is it good?
- Faster design-to-code for prototyping
- Better alignment with design systems
- Reduced handoff friction
How was my experience?
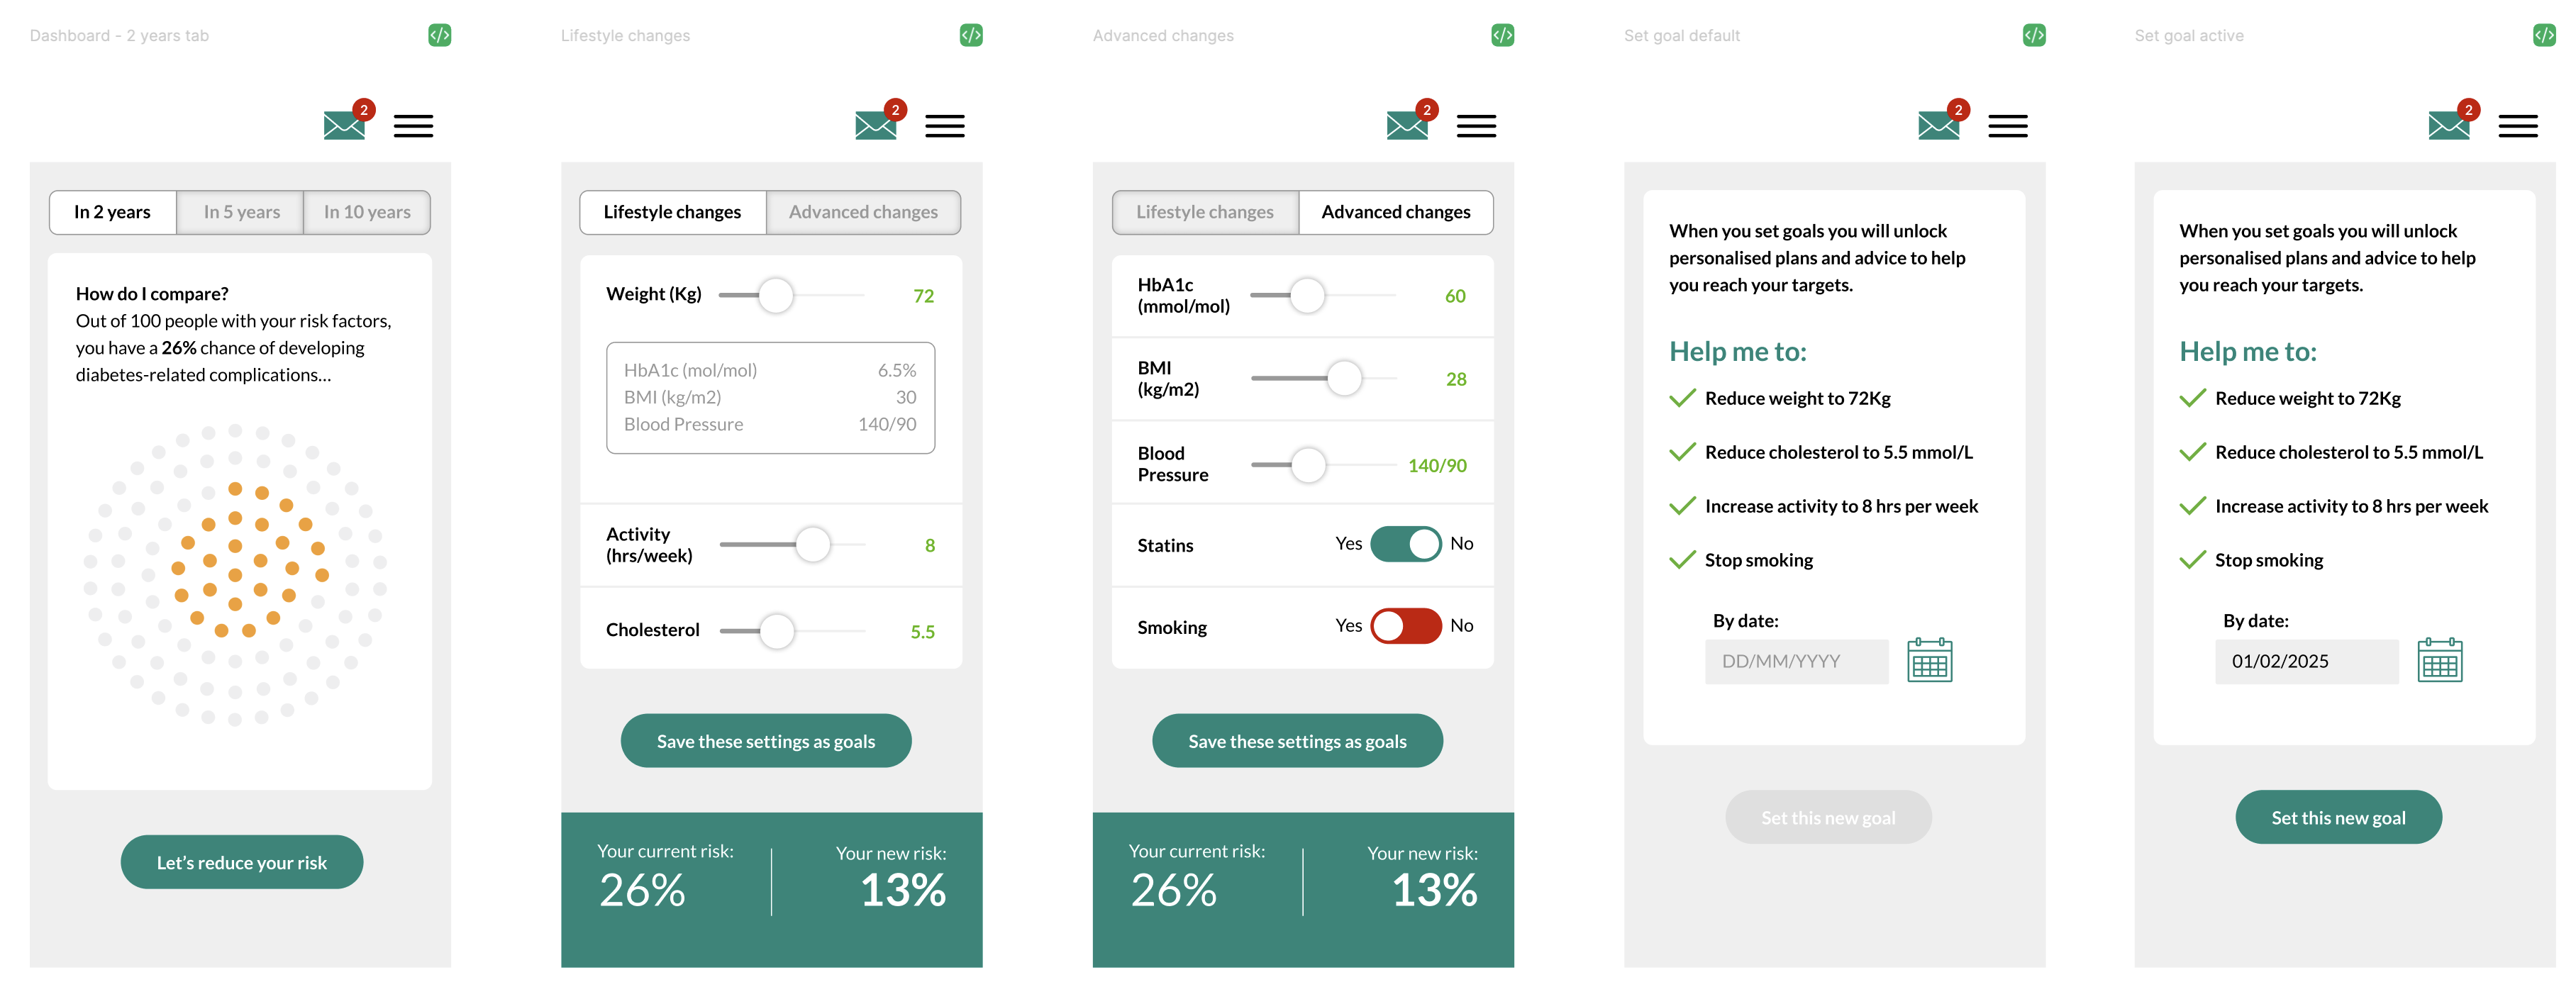
I'll start off by saying I made a mistake. I quickly put something together in Figma to see what would happen. It wasn't properly structured, it was shall we say 'messy'. I didn't set up variables and there were few components. It was first and foremost an experiment to see how Cursor and Figma played together via MCP.
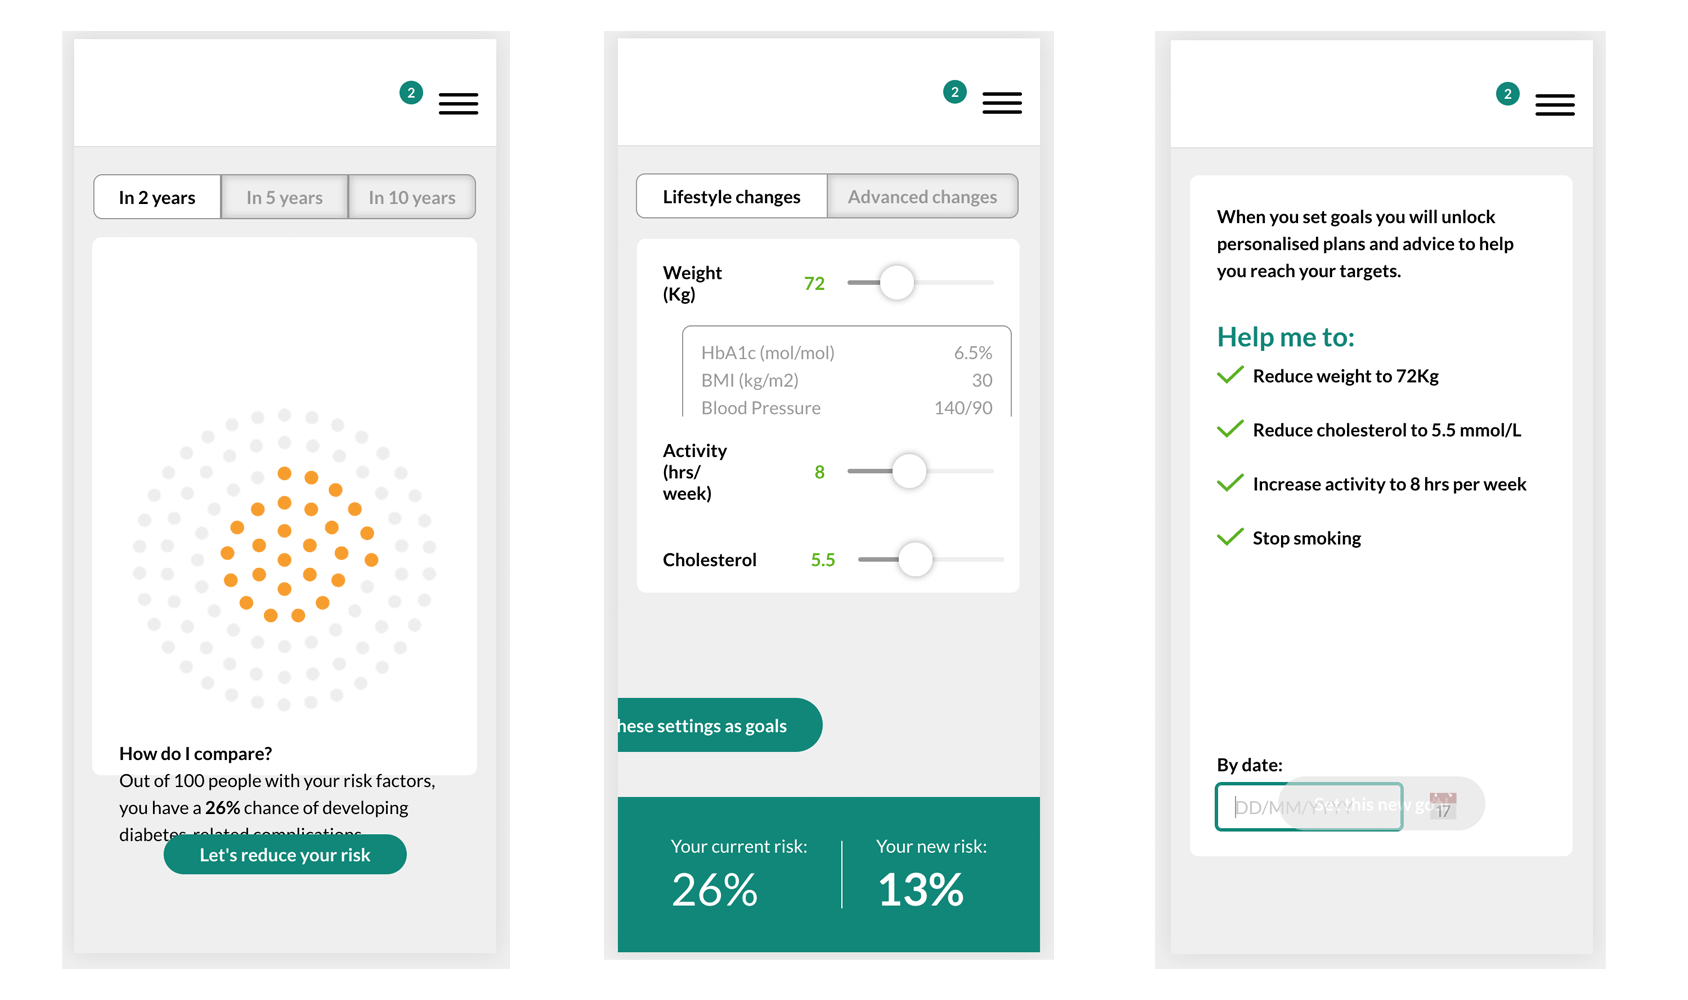
It didn't go as well as I had hoped, but I knew exactly why. In the real world, I would have spent time structuring my design file with auto-layout components, some kind of design system (e.g. colour variables, typography styles, spacing variables etc.). Remember: you only get out, what you put in. I had tried to short-cut to results and that won't work. So the results shouldn't have been a surprise…Figma designs:
Cursor output:
Where to go from here
I'm going to replay this experiment (that's what experiments are for), but this time spend more time making sure my Figma file is up to date, and my prompt is as detailed as possible. This is where Cursor helped me to understand what it needs in order to create a working prototype from my Figma design and this will be the structure of my prompt…
"I want to build a clickable prototype from my Figma file.
📍 Location: Build only from the [PAGE NAME] page
🎯 Screens to build:
- Screen 1 name (description of what it does)
- Screen 2 name (description of what it does)
- Screen 3 name (description of what it does)
🔗 Navigation flow:
- Screen 1 → clicks [button name] → Screen 2
- Screen 2 → clicks [element] → Screen 3
⚙️ Interactive features:
- [Describe any sliders, forms, toggles, etc.]
- [What should happen when users interact?]
🎨 Technology preferences:
- React + Vite (or Next.js, Vue, etc.)
- Regular CSS (or Tailwind, styled-components, etc.)
📱 Target platform:
e.g. Desktop (specific width if important), or Mobile responsive, or iOS app."
Conclusion
I'll repeat - you only get out what you put in. Whilst AI does undoubtedly speed up the workflow, you can't get a decent result without proper planning. Be prepared to spend time understanding results, asking for changes, describing expected behaviours and fixing UI issues, because there is no point building a prototype to explain your thinking, if the prototype doesn't look or behave the way you want it to.